My 30th birthday is one week away - EEEK! English Muffins were probably one of the most intimidating items on my list of 30 Things to Make Before I Turn 30. I love English Muffins, but am not a baker! However, I have come to realize over the past year that baked goods are really not that difficult, just more time consuming and laborious. These English Muffins were no exception. They took several hours and lots of steps, but overall were not hard to make. I am really pleased with how they turned out and the fact that I will have fresh, homemade English Muffins for breakfast all week. I finished them in the afternoon, so topped my first one with a cream cheese and olive spread. I am really looking forward to topping them with eggs for breakfast. Yum!
 Homemade English Muffins
From Kitchen M
Makes 8 - 10 English Muffins
Printable Version
Homemade English Muffins
From Kitchen M
Makes 8 - 10 English Muffins
Printable Version
Ingredients
1 cup whole wheat flour
1 cup all purpose flour
2 teaspoons dry active yeast
1 teaspoon salt
3/4 teaspoon baking soda
3/4 reduced fat buttermilk
1 - 2 tablespoon water
Extra flour and cornmeal for dusting
Cooking oil (I used vegetable oil)
 Directions
In a large bowl, combine all dry ingredients (whole wheat flour, all purpose flour, active dry yeast, salt, and baking soda) and mix well.
Directions
In a large bowl, combine all dry ingredients (whole wheat flour, all purpose flour, active dry yeast, salt, and baking soda) and mix well.
 Add buttermilk and water and mix with a wooden spoon until the mixture starts forming into dough. Turn the dough onto a lightly floured surface and knead until the dough is smooth, soft, and pliable. If the dough is too wet, add a little bit of flour. If it is too dry, add a little more water. Transfer the dough to a bowl and cover with plastic wrap. Allow to rise at room temperature for 1 1/2 hours or until the dough has doubled in size.
 Sprinkle a large flat platter or a couple flat plates with cornmeal. On a lightly floured surface roll out the dough to about 1/4 inch. Cut the dough into 3 inch circles. I used a glass, but you could also use a 3" round cookie cutter.
 Place the circles onto the plates. Avoid working with the dough too much because it will get tough. You can gather the scrap pieces and combine to create more circles, but do not do this more than one time. Sprinkle cornmeal on top and allow to rest for 50 minutes.
 Brush a large flat skillet with cooking oil. Heat to medium and place the muffins on the griddle so they are not touching.
  Cook on each side for 4-5 minutes or until golden brown. Flip and repeat the procedure on each side for 2 more minutes each. Remove from heat and allow to cool for at least 30 minutes.

I have no problem admitting that our pug Wendell is extremely spoiled. He goes to Doggie Day Care at least once a week, sleeps in our bed cuddled up in between hubby and I, and he gets LOTS of treats. Since pugs have a tendency to pack on the pounds, especially in the winter when they may not get as much exercise, I am picky about the treats Wendell gets. I buy treats with natural ingredients so when I saw this recipe for homemade treats with whole wheat flour on Delish, I thought they'd be perfect for my baby. I made these one weekend we dog sat for our neigbor's dog, Bella. Bella and Wendell both seemed to love these treats. One batch made a ton of treats, and after a week or so I noticed mold on some of treats and had to throw them out, so next time I will either halve this recipe or give half of it away to Wendell's doggie friends.
On a side note, does anyone know where I can find dog bone cookie cutters? I have looked and looked and looked to no avail.
Bacon & Cheddar Dog Treats
From Delish
Printable Version
Ingredients
2 cups whole wheat flour
1/4 cup bacon fat, melted
1/2 cup shredded cheddar cheese
3/4 cup milk
2 1/2 tablespoons vegetable oil
Directions
Preheat oven to 350 degrees. Combine all ingredients in a small bowl.
Flour work surface. Roll dough to 1/3 inch thickness. Dough will be greasy/oily but should roll easily.
Cut into desired shape.
Bake in preheated oven for 25 minutes until firm. Cool and then store in an airtight container. Share with your favorite doggies.
I'm not sure if it's because I'm a teacher and around kids alllllll the time but I still really like peanut butter and jelly. I don't eat PB&J sandwiches anymore but I love it on english muffins or waffles. I came across this recipe on one of the cutest and most entertaining food blogs out there, How Sweet It Is. I made these pancakes for my hubby and I and we both loved them. I made the jelly sauce with homemade jam from wild Michigan blackberries. It was awesome. Unfortunately my hubby doesn't like fruit (yes, he is crazy) so he omitted the jelly sauce from his pancakes. He really liked them with just the peanut butter and syrup. Since the pancakes are made from whole wheat they are very thick and very filling. This recipe is a definite winner in my PB&J book!
Peanut Butter & Jelly Pancakes
From Jessica at How Sweet It Is
Printable Version
Ingredients
For the pancakes:
2 cups whole wheat flour
2 teaspoons baking soda
1 teaspoon salt
2 eggs, well beaten
2 cups milk
2 tablespoons canola oil
1 teaspoon vanilla
1 teaspoon cinnamon
3 tablespoons peanut butter, melted plus additional for drizzling
For the jelly topping:
1/4 cup strawberries
1/4 cup blueberries
1/4 cup jam of choice
1-2 tablespoons water
1-2 tablespoons maple syrup
Directions
For the pancakes:
Stir together dry ingredients. Add eggs, milk, vanilla and oil. Stir until dry ingredients are moistened. Stir in peanut butter. Cook on preheated pan until bubbles form and edges start to dry.
Flip and cook until lightly browned. Top with additional peanut butter and jelly topping.
For the jelly topping:
In a small saucepan, combine blueberries, strawberries and water over low heat. Mash the berries and add jam, stirring until mixture becomes mostly liquid and warm. Stir in syrup. Drizzle over pancakes.
Here is another healthy, yummy recipe I found at Food and Whine. The original recipe used raisins, but raisins are not allowed in granola bars at my house because my husband hates raisin. Sad. So instead, I used chocolate chips. These granola bars are healthy and taste like it - they definitely need chocolate chips or dried fruits to add in some moisture and pops of flavor. I ate mine with a smudge of peanut butter on top, a banana on the side, and big ol' glass of skim milk. Snack perfection!
Chocolate Chip Granola Bars
Modified from Food and Whine
Printable Version
Ingredients
1/2 cup unsweetened apple sauce
1/4 cup maple syrup
1 egg
2 tablespoons ground flaxseed
2 cups old fashioned oats
1 cup whole wheat flour
1 teaspoon cinnamon
1/2 teaspoon baking soda
1/2 cup chocolate chips
Directions
Preheat oven to 350 degrees. In a small bowl combine apple sauce, maple syrup and egg. In a larger bowl combine dry ingredients. Add in the wet ingredients and stir until fluffy and combined.
Shape into bars and place on greased pan (I use cooking spray). **Note: You could also spread into a 9X13 pan and then cut into bars, probably easier that shaping and will make more bars than the measly 8 I got!!** Bake for 15 minutes and remove from pan immediately.
Once I decided to make tzatziki sauce it was a no brainer to also make homemade pita bread. I remembered seeing the most beautiful pitas on one of my favorite food blogs, Food and Whine, so of course I had to steal the recipe for my own pita project. Baking is soooo not my thing, which is why you will not find very many baked goods on my blog. BUT after this pita recipe, I now realize why baking is a stress reliever - you get to punch the heck out of the dough and then end up with something warm, comforting, and satisfying. Pretty fabulous if you ask me. Hubby and I loved these pitas! This recipe makes six pitas, but if you notice, the plate of pitas only shows five. This is because we totally scarfed the sixth one straight out of the oven - it had no chance making it in a photo! These are going to be a regular staple in my house - and next time I will definitely double the recipe!
Pita Bread
Thanks to Megan at Food and Whine
Printable Version
Ingredients
2 1/4 teaspoons yeast (I used one packet of Active Yeast)
1/2 tablespoon honey (please notice the amazing pure honey that I used - a gift from my wonderful mother in law)
1 cup warm water
1 1/2 cups all purpose flour
1 1/2 cups whole wheat flour
1 teaspoon salt
1 tablespoon olive oil
Directions
In a bowl or measuring cup combine yeast, honey and water. Let stand for 5 minutes. In a large bowl combine 1 cup all purpose flour, all of the whole wheat flour and salt. Using a wooden spoon add the yeast mixture. Add as much of the remaining all purpose flour as necessary to form a soft dough that is sticky but not wet. Work olive oil into dough, then turn onto a lightly floured surface. Cover and let rest for 10 minutes.
With floured hands, knead dough, adding additional flour as needed, until smooth and elastic (about 5 minutes), then form into a ball. Coat a large bowl with cooking spray and place dough inside, turning to coat it with oil. Cover the bowl with a thin towel and place in the oven with just the light on until the dough has doubled in size (about 1 hour).
Lightly coat a baking sheet with cooking spray and set aside. Punch down the dough and turn out onto a floured surface.
Divide the dough into six pieces. Flatten each piece with the palm of your hand. **If you want really good pockets in your pita, roll them out fairly thin.** Roll into a 4-5 inch circle with a floured rolling pin. Place them onto a baking sheet about an inch apart.
Bake in a preheated 450 degree oven until lightly browned, about 5-7 minutes. (For a softer pita, bake at 375 degrees). Stack the hot pitas on a towel and wrap them up until they are cool. This makes a softer pita with pockets for filling.
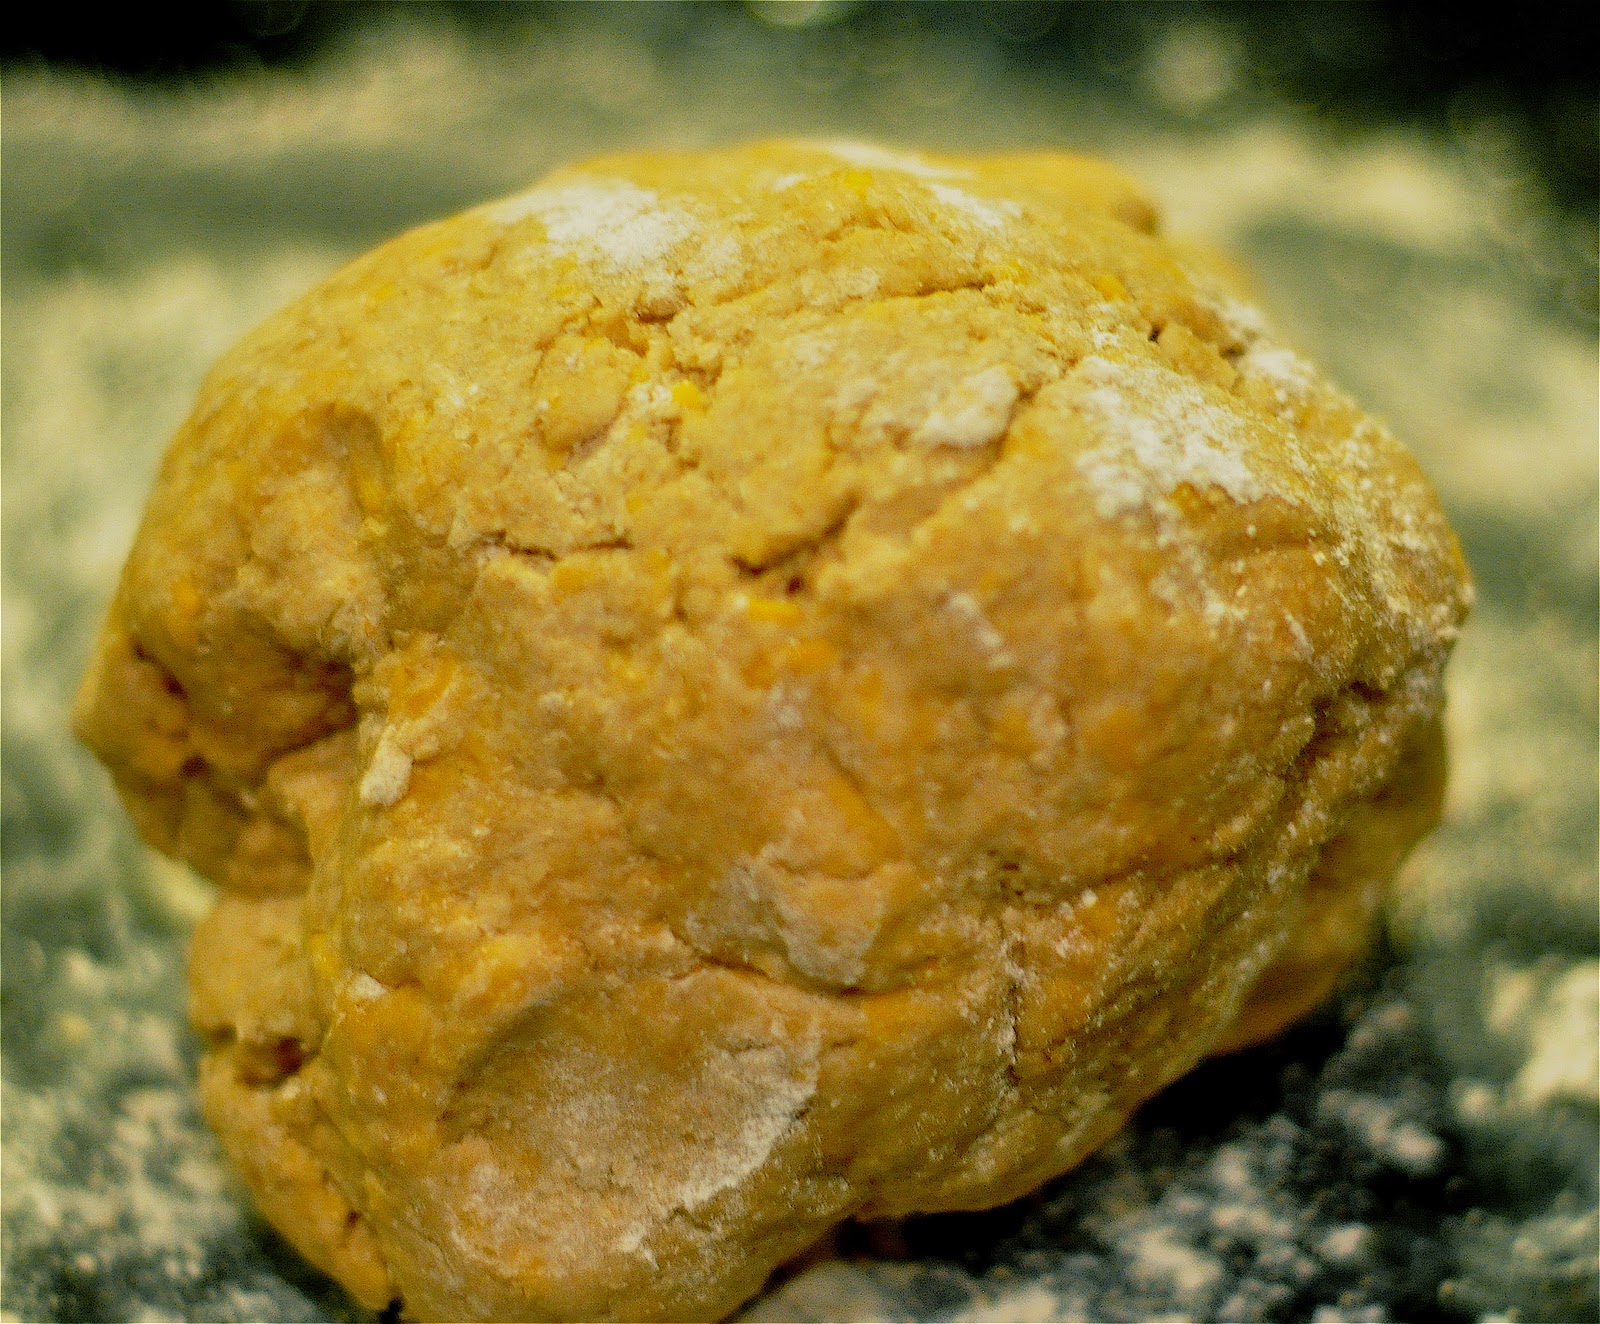
I was so nervous to try making these homemade noodles, a family recipe from Jody, a former student's parent and fellow home cook enthusiast. The whole time I made these, I was really doubting myself. I was unsure that I was doing ANYTHING correctly - was I rolling the dough thin enough? Should I not have used half whole wheat flour and half regular flour? Did I cut the noodles thin enough? Am I boiling them long enough? And on and on. Jody warned me that it took her a while to master these noodles from her Grandma, so I know I need to make them again. I enjoyed the challenge of these noodles and this experience reminded me that it is good for me to cook outside my comfort zone.
Overall I am pleased with how they turned out. I served shredded chicken with pan juice, onions and celery over them (recipe to follow next) but Jody says they are really good with mashed potatoes, chicken and gravy, or just butter, salt, and pepper.
Homemade Noodles
Thanks to Jody for sharing this treasured family recipe with me!
Printable Version
Ingredients
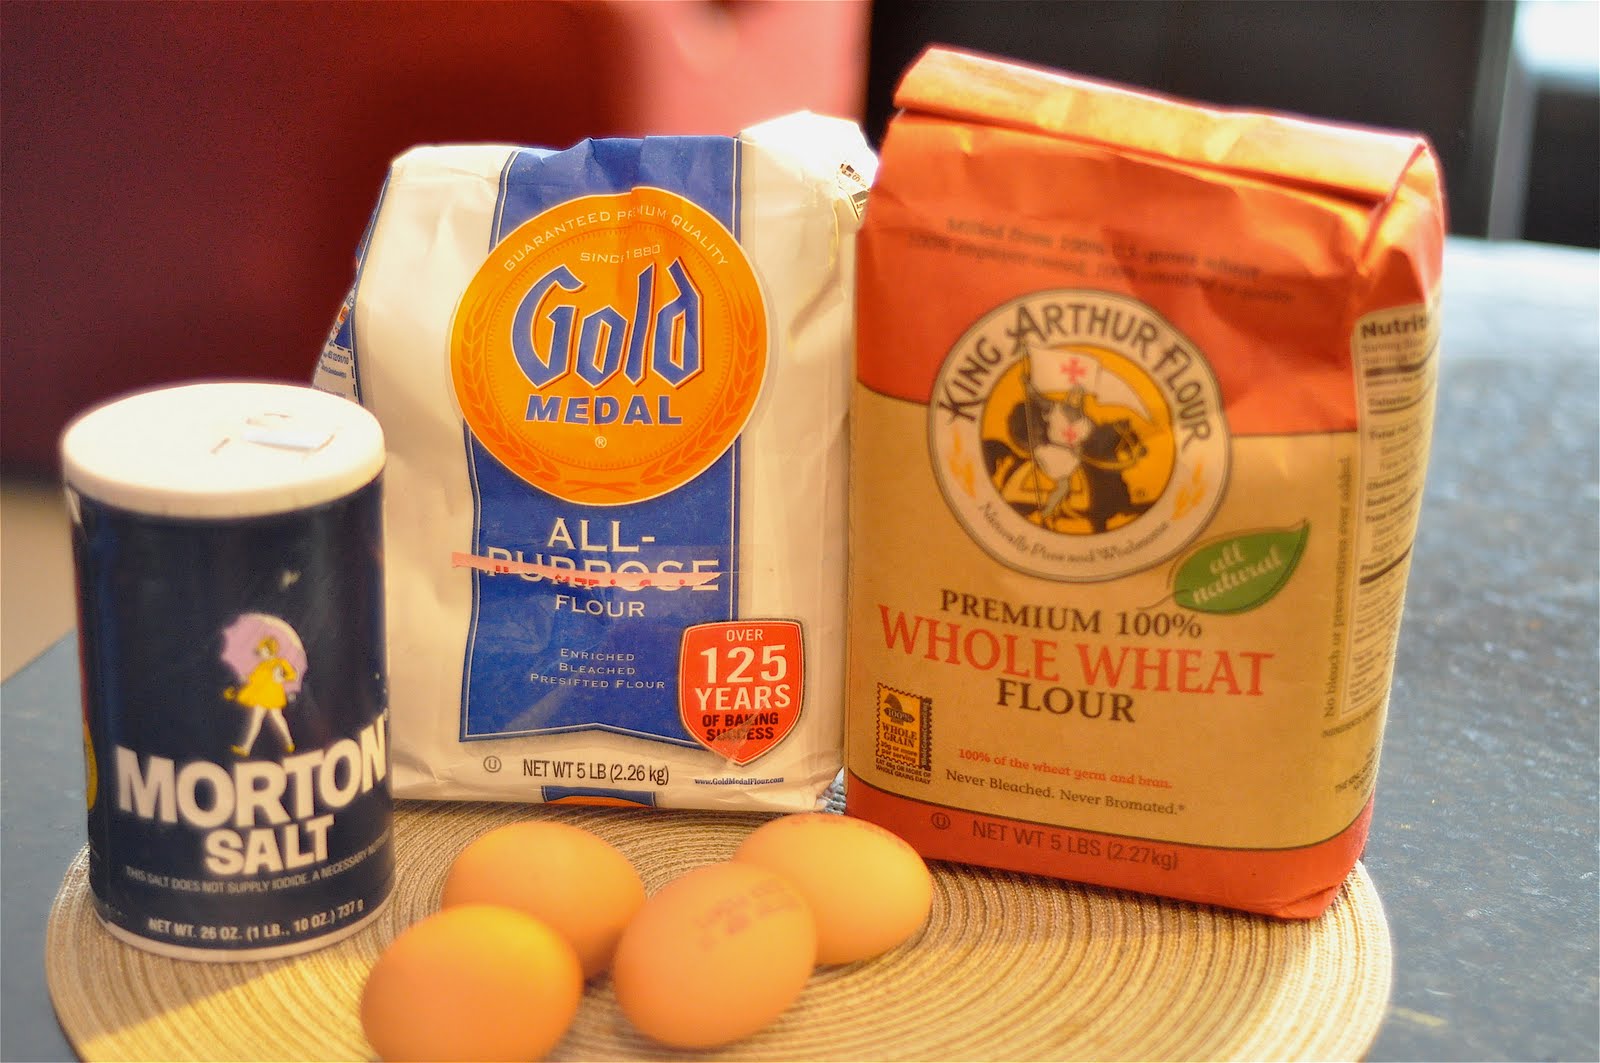
4 eggs, beaten
2 cups of flour
Dash of salt
Chicken broth or Beef broth
Directions
Mix ingredients together in a medium bowl until it forms together. Flour the counter top and knead dough a few times to get it covered in flour. Roll the dough out thin, the thinner the better. Let it dry on both sides.
Cut thin strips and dry some more, tossing around to get rid of the excess flour. Bring broth to a boil in a large pot and cook for 15 minutes, or until tender.