Sunday, February 20, 2011

Banana Cake with Peanut Butter Frosting

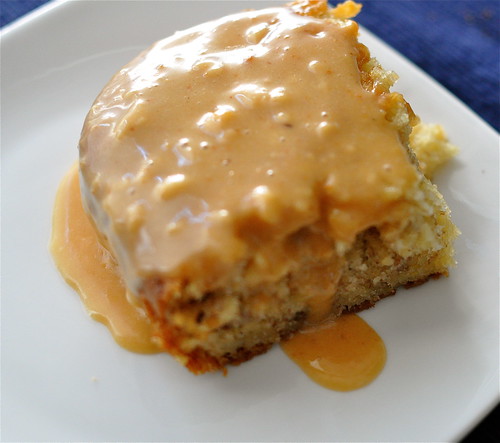
DSC_4392I'm baaaaaack! Oh blogging, I missed you so! I didn't realize how much I love sharing recipes with you until I literally couldn't. I am happily back to blogging on a beautiful brand new MacBook Pro, which I am already in love with. It's so fast and a HUGE step up from the hand-me-down laptop I was using before. 
DSC_4384
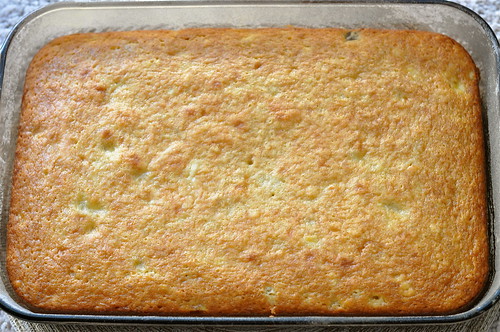
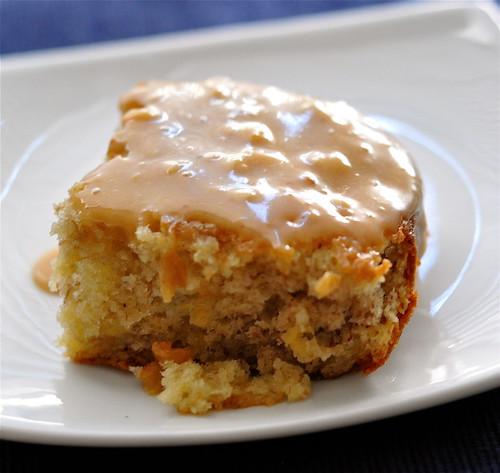
Without further ado, I give you Banana Cake with Peanut Butter Frosting. This cake is more than just another banana cake. The recipe comes from a cookbook complied by members of the church that my parents have faithfully attended since 1984. The title of this recipe in the Haven Cookbook is, "AJ's Secret Banana Cake". My dad was A.J.'s Sunday School teacher and they became buddies. AJ has made the cake for my Dad several times over the years, and my parents have bought his cake at Church Auctions. It is a very well known cake at Haven Church. People really go nuts over it. Or maybe just my family goes nuts over it, but regardless, it is one incredible banana cake. Otherwise I don't think it would be titled, "AJ's Secret Banana Cake", do you?? Since it was published in the church cook book, the secret is out, and now that the recipe is on my blog, is most definitely is out. But the world is a better place with this banana cake recipe being shared. This cake actually melts in your mouth. It's so moist and delicious. AJ frosts his cake with cream cheese or vanilla frosting, which is how I've had it before. I decided to get a little creative and frost it with peanut butter frosting because there really is no better combination than peanut butter and banana. 


If AJ or his family reads this I would like them to know that my family is forever grateful for your banana cake. It truly is one of the best cakes I've ever had. The next time you are thinking of making banana bread, you must make this cake instead. It's a much better way to use your over ripe bananas.
DSC_4369
AJ's Not So Secret Banana Cake with Peanut Butter Frosting
Printable Version


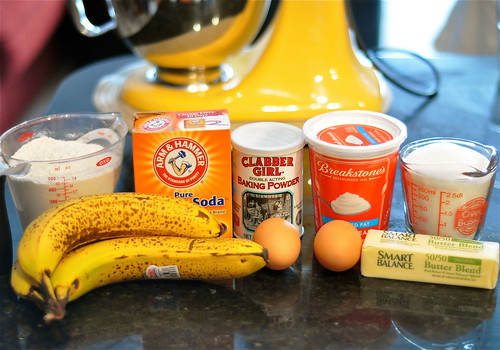
Ingredients for the cake:
1/2 cup butter
2 eggs
1 cup sour cream
2 cups sugar
1 1/2 to 2 cups mashed bananas
2 cups flour
1 teaspoon baking soda
1 teaspoon baking powder
DSC_4371
Directions
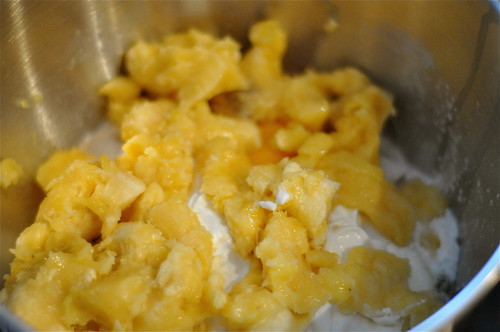
Preheat oven to 350 degrees. Mix butter, sugar, eggs, and bananas together well. (I used my KitchenAid). Add the rest of the ingredients and continue to mix well. Pour into a greased and well floured 9X13 inch pan. Bake for 35 to 40 minutes, until a toothpick inserted in the center comes out clean. Frost as desired. 
DSC_4374
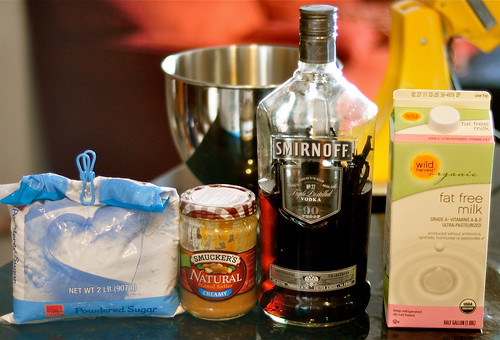
Ingredients for the Peanut Butter Frosting
1/3 cup peanut butter
1/3 cup milk
1 1/2 teaspoon vanilla (my Homemade Vanilla Extract is pictured in the vodka bottle!)
3 cup powdered sugar
DSC_4382
Directions
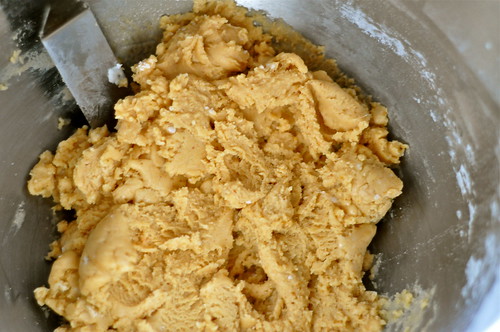
Beat peanut butter milk, and vanilla until blended. Gradually beat in powdered sugar until smooth. Spread over cake. 
DSC_4390

Sunday, February 13, 2011

Unintentional Blogging Hiatus

Dear Readers,
I will be going on a blogging hiatus for the next week due to the death of my laptop. My laptop lived a long and wonderful life, and it was definitely it's time to go! Until hubby and I get to the Apple store next weekend, I am unable to upload pictures and therefore won't be posting any recipes for several days. I enourage you to check out my favorite blogs on the sidebar until I'm back to blogging!
Happy Valentines Day!

Thursday, February 10, 2011

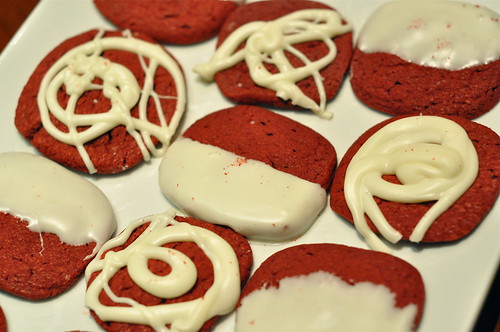
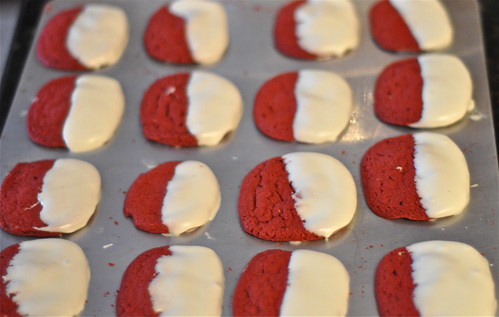
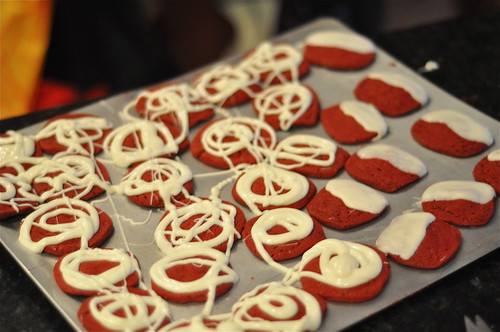
Red and White Velvet Cookies

DSC_4492
This is a first for me - I've never blogged about a recipe the same day that I made it. But I am so excited to share this recipe with you that I just couldn't wait! The cookies are still cooling while I am blogging away. 
DSC_4482
Today there was no school because we had three inches of snow (everything in Virginia shuts down with the slightest amount of snow, I love it!) so I decided to do some baking. I'd bookmarked several red velvet recipes to try around Valentine's Day, but I had a hard time finding one that seemed in my league. Whoopie pies are most definitely not in my league, but maybe someday. I found the recipe for these cookies on the Duncan Hines site. They are super cute and festive, not to mention buttery, crisp, and delicious! I am sending them with hubby to work because I do not want them sitting around my house - too dangerous! I hope these inspire you to make a Valentine goodie yourself!
DSC_4430
Red and White Velvet Cookies
From Duncan Hines.com
Makes 4 dozen
Printable Version


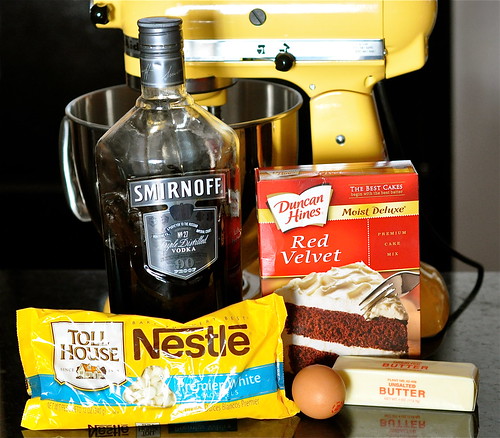
Ingredients
1/2 cup butter
1 box Duncan Hines Red Velvet cake mix
1 egg
1 teaspoon vanilla (I used Homemade Vanilla Extract, pictured in the vodka bottle)
12 ounces white chocolate
2 tablespoons vegetable shortening


Directions
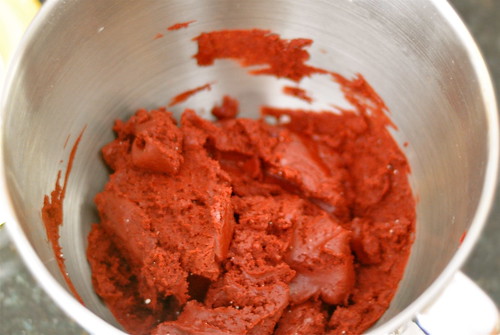
Melt the butter and set aside to cool. Place cake mix, egg, cooled butter, and vanilla in a large mixing bowl. Mix by hand until well blended. (I used my Kitchen Aid Mixer, of course!) 
DSC_4441
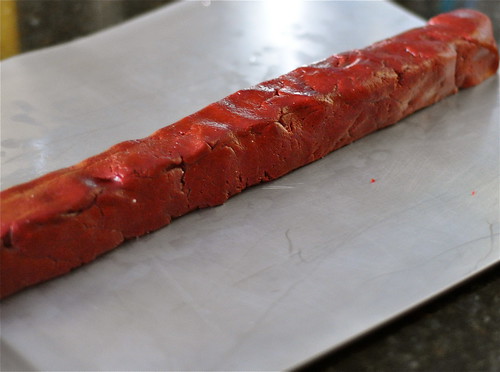
Form dough into smooth 12-inch log on wax or parchment paper. Make sure it is even in thickness from end to end. Wrap in wax paper and seal in plastic wrap. Refrigerate for at least 1 hour or overnight. 
DSC_4443
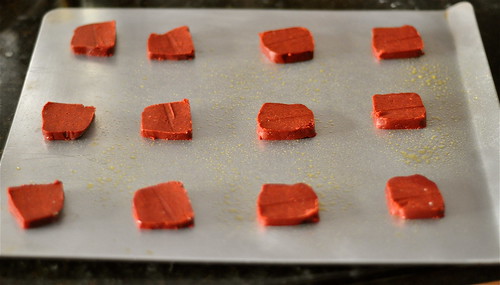
Preheat oven to 350 degrees. Lightly grease baking sheets. Unwrap dough log and set on wax paper. Use a sharp knife to cut into 48 slices, about 1/4 inch thick. Place on cool baking sheets about 2 inches apart. 
DSC_4461
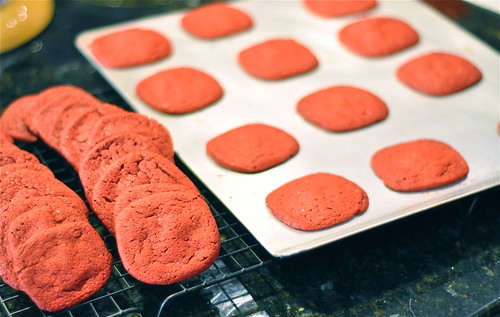
Bake 1 sheet at a time in center of oven for 10 to 12 minutes or until set. Cool for 1 minute then transfer to a wire rack to cool completely. 
DSC_4470
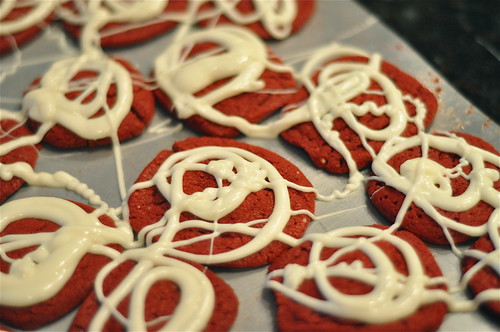
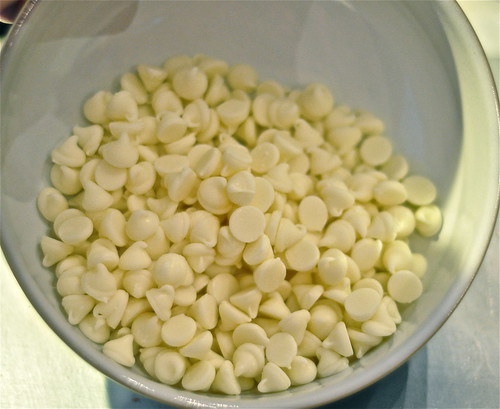
Make chocolate dip by placing white chocolate in a small dry microwave safe bowl along with shortening. Microwave on 50% power for 30 seconds. Stir to blend. If needed, continue to microwave at 15 second intervals. Stir each time and avoid overheating.
DSC_4472
Dip each cookie halfway to coat in chocolate. Place on wax paper or baking sheet and refrigerate about 15 minutes until chocolate is set.
DSC_4477
 Store in an airtight container with wax paper separating each layer. 
DSC_4480

Wednesday, February 9, 2011

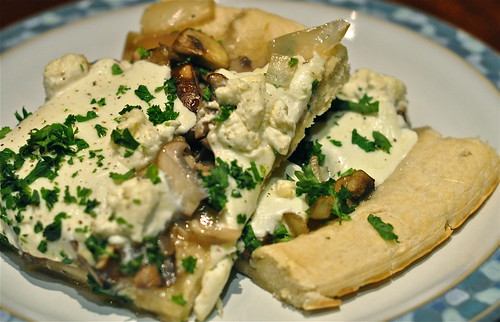
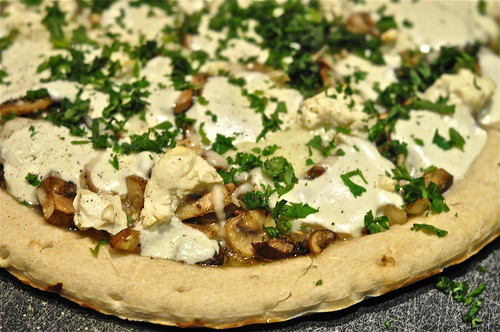
White Mushroom Pizza

DSC_4380
My husband is a pizza freak. Before we were married it was the main food group in his diet - yes food group. The man would eat it every day if he could - that and hot dogs. Needless to say, hubby is not the healthiest eater. On Friday nights when we are debating where we should order dinner from, he always throws in a "pizza?" and every once in a while, I let him get his way. I'm such a sweet wife, I know! :) The problem with the two of us ordering pizza is that we are complete polar opposites on pizza toppings. He loves pepperoni, the more the better. I love my pizzas sans meat with tons of veggies and pineapple. The one compromise for our pizzas is mushrooms because we both love mushrooms, especially a variety of mushrooms.
DSC_4375
So during the month of January when we were eating vegetarian at home, I made a white mushroom pizza, using white truffle oil instead of pizza sauce and of course lots and lots of cheese. I went crazy and put a little goat cheese on the pizza, but do not recommend it. Hubby picked it off!! Oops, lesson learned. Despite the goat cheese mistake, this was super yummy. Even my pepperoni loving hubby admitted it was pretty good.
DSC_4355
White Mushroom Pizza
An Ashley Original
Printable Version


Ingredients
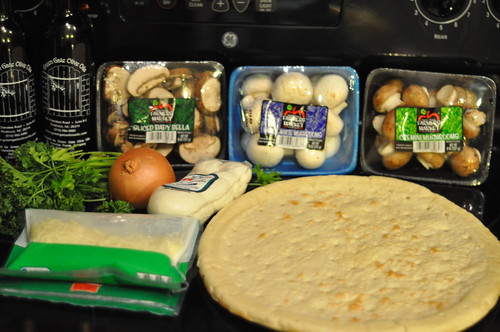
Pizza crust (I was lazy this time and used store bought crust)
Variety of mushrooms, washed and sliced (I used button, cremini, and baby bellas)
1 white onion, sliced
Olive oil
White Truffle Oil
Fresh mozzarella, sliced
Italian cheese mix, shredded
Fresh parsley, chopped


Directions
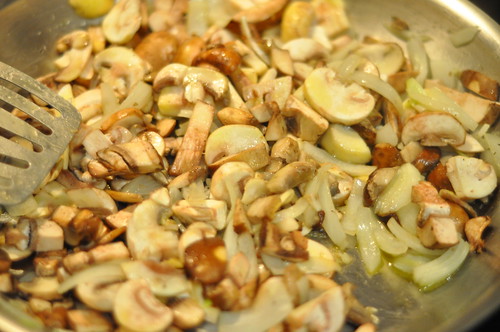
Preheat oven to 400 degrees. In a large skillet, heat olive oil on medium. Saute sliced mushrooms and onions until softened, about seven minutes. Allow to cool slightly.
DSC_4357
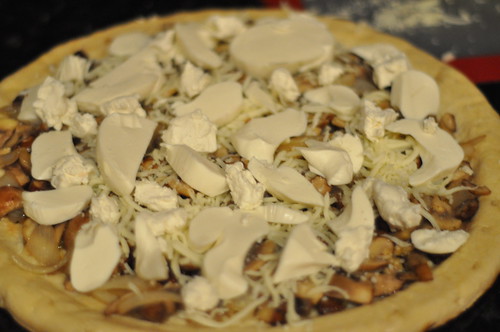
Brush pizza crust with white truffle oil. Place mushrooms and onions on crust and cover with cheese.
DSC_4369
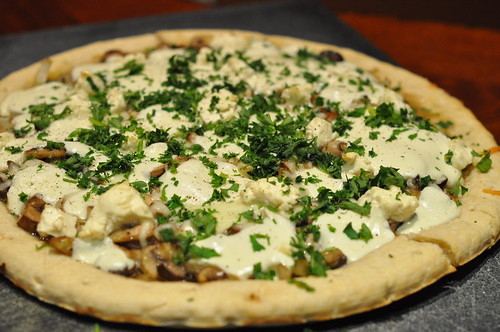
Bake for 10 minutes or until crust is golden brown and cheese is melted and bubbly. Garnish with parsley.
DSC_4373

Sunday, February 6, 2011

Meatless Muffalettas

DSC_4355
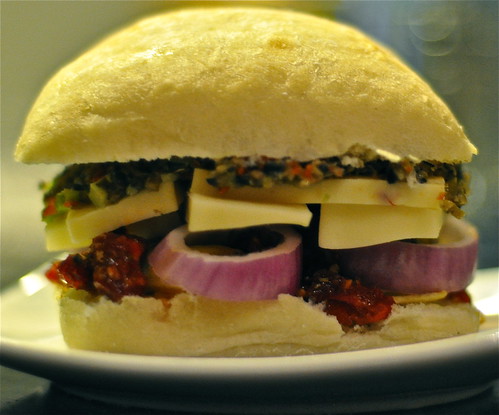
Thank goodness for Tasty Kitchen! Toward the end of January I was running out of ideas for vegetarian meals to make at home, so I turned to Tasty Kitchen for inspiration. I was so happy when came across these Meatless Muffalettas from Three Many Cooks because I've been wanting to make Muffalettas at home anyway! Muffalettas are an Italian sandwich that originated in New Orleans. The traditional Muffaletta is layered with Italian salami, ham, and provolone cheese, then topped with olive salad. This vegetarian take on the Muffaletta replaces the meat with marinated veggies but still incorporates the olive salad and cheeses. It was over the top delicious! My husband, who loves meat sandwiches, was a huge fan of this sandwich. The olive salad really makes this sandwich. I ate it two days in a row and the second day added banana peppers because they are my favorite sandwich topping. I think next time I make it I will use sliced cheese instead of cutting a block of cheese into chunks, but other than that, I wouldn't change a thing!
DSC_4327
Meatless Muffalettas
Makes 4 sandwiches

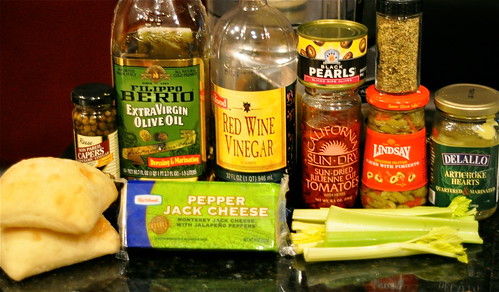
Ingredients
2 garlic cloves
1/4 cup capers
1 cup drained black olives
1 cup drained pimento stuffed olives
2 tablespoons red wine vinegar
2 teaspoons dried oregano
1/2 cup olive oil
1/2 cup finely chopped celery hearts
4 whole Portuguese rolls, split (I used ciabatta bread)
4 slices each of mozzarella, provolone, and pepper jack cheese
1/2 red onion, thinly sliced
1 jar (14 ounces) marinated artichoke hearts, chopped
3/4 cup sun dried tomatoes, packed in oil, chopped

Directions
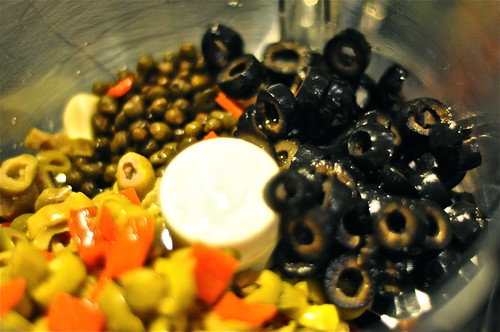
Mince garlic in a food processor. Add in capers and pulse to chop. Add olives, vinegar, and oregano. 
DSC_4329
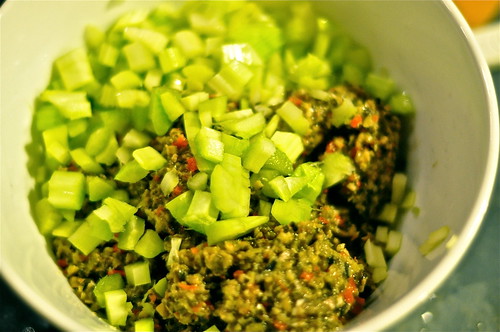
Pulse to chop again. Scoop into a medium sized bowl and stir in olive oil and celery. (This salad can be refrigerated in an airtight container for several weeks.)
DSC_4333
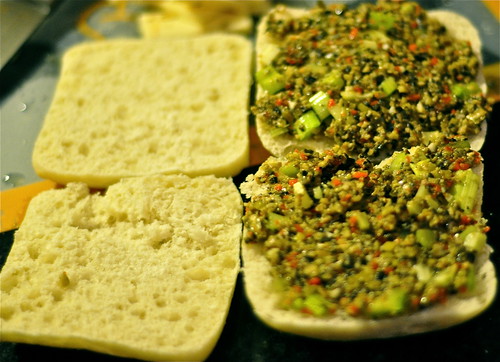
When ready to make sandwiches, spread 2 tablespoons of the olive salad on the cut side of each half roll.
DSC_4338
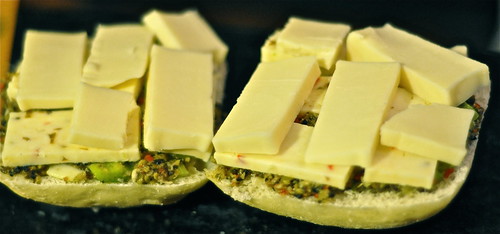
Divide cheese evenly between bread. 
DSC_4341
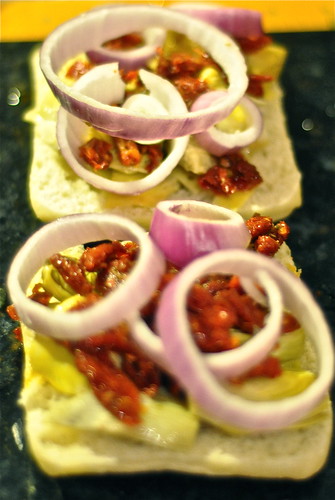
On the bottom half of each sandwich arrange artichoke hearts, sun dried tomatoes and onion slices. 
DSC_4349
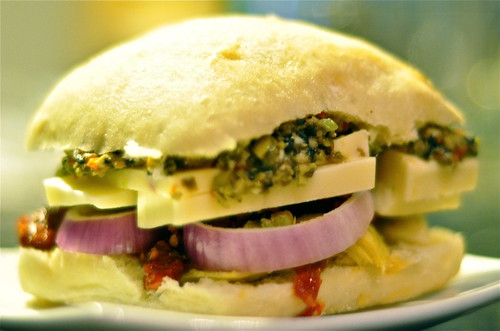
Place sandwich halves together. Halve crosswise on the diagonal and serve. 
DSC_4356

LinkWithin

Related Posts with Thumbnails