Good Mexican cuisine has been hard find on Okinawa. Since hubby and I both love Mexican and refuse to go two years without it, I have resolved to make it at home. One of my favorite Mexican dishes is Enchiladas Verdes. I love the tanginess of the verdes sauce, the creamy filling with tender chicken and bursts of cilantro, and of course the melted cheese.
This recipe is wonderfully easy and great for a weeknight meal. With a dollop of sour cream and homemade guacamole on the side, hubby and I happily got our Mexican fix!

Chicken Enchiladas Verdes
From Yummly
Printable Version
Makes 6 enchiladas
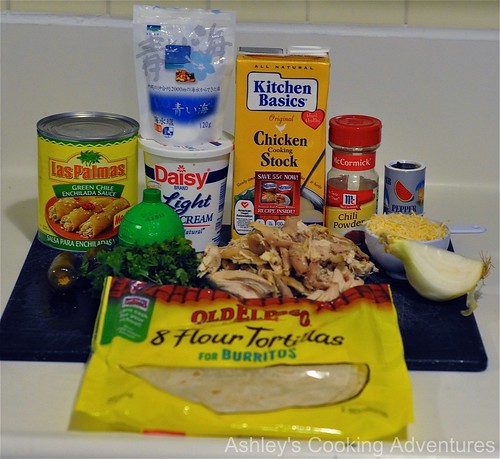
Ingredients
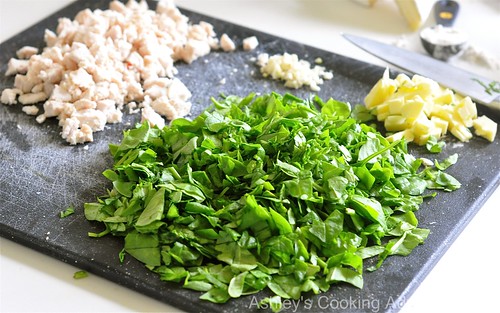
2 cups rotisserie cooked chicken, shredded
2 cups verdes (green chile) enchiladas sauce
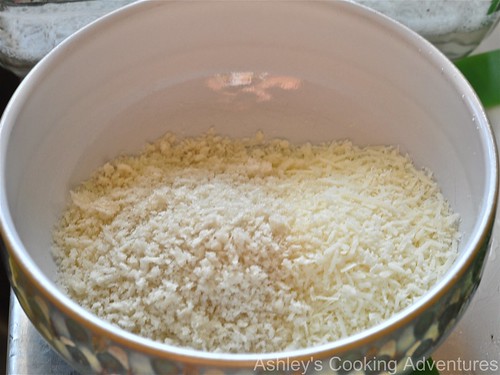
1 1/2 cup shredded cheese (I used the Mexican blend)
1/4 cup fresh cilantro, chopped
1/3 cup sour cream
1 tablespoon lime juice
1/2 white onion, chopped
1/2 tablespoon chili powder
1/4 cup chicken stock
Salt and pepper to taste
6 flour tortillas
4 jalapenos, chopped (optional)
Directions
Preheat oven to 400 degrees. Spread 1/4 cup of the enchiladas verdes sauce in the bottom of a 9X13 baking dish. In a large bowl combine the shredded chicken, 1/2 cup of the shredded cheese, cilantro, sour cream, lime juice, onion, chili powder and chicken stock. Taste and season with salt and pepper.

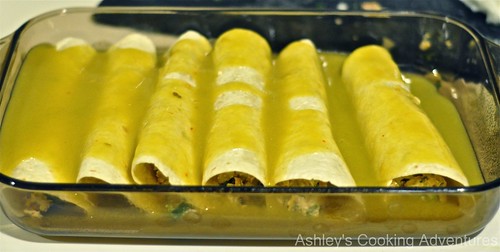
Place tortillas on a plate with a moist paper towel over the top and microwave for 45 seconds. Working one tortilla at a time, spoon about 1/4 cup of the chicken filling onto the middle of the tortilla and place seam side down in the baking dish. Continue until all of the filling is gone.

Drizzle the remaining enchilada sauce on the top of the tortillas and then cover with the rest of the cheese.
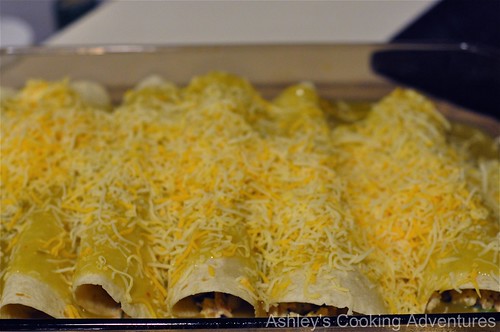
Bake about 30 minutes or until cheese is bubbly. Remove from oven and garnish with chopped jalapenos. Serve with additional sour cream and guacamole if desired.