Saturday, March 19, 2011

Grilled Fish Tacos

DSC_4865
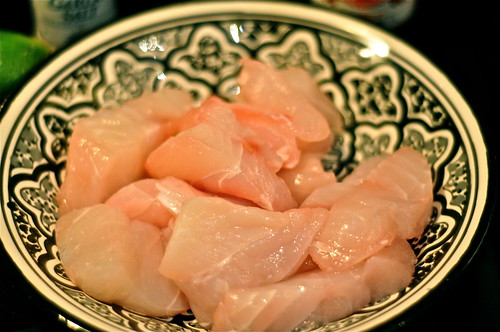
I've been wanting to make Fish Tacos for a long time now. When my parents stayed with us last weekend it was the perfect time to make them and highlight the fresh fish we have available to us here in Virginia. Mom and I went to a fish market right around the corner from us and the owner recommended we use rockfish because it's light and flaky.
DSC_4825
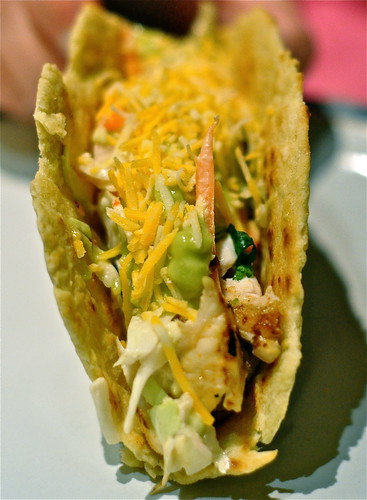
 I modified the recipe from Patio Daddio BBQ and served the tacos with homemade flour tortillas and Patio Daddio's killer southwest slaw (recipe to follow). I had already made avocado sauce for a previous recipe, so we topped our tacos with that and a little shredded cheese. My parents and hubby raved about these tacos. They were so fresh, flavorful, and light. Perfect for spring and summer served alongside a chilled Corona! 
DSC_4824 2
Grilled Fish Tacos 
Adapted From Patio Daddio

Ingredients
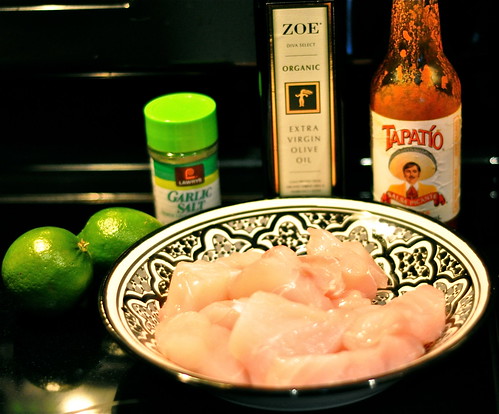
6 fillets of fresh fish (Tilapia, Halibut, Mahi Mahi, Cod, Red Snapper, or Rockfish)
Juice of 2 limes
2 tablespoons hot sauce
1 teaspoon garlic salt
1/3 cup olive oil
12 corn tortillas
1/4 cup cilantro, chopped 

Directions
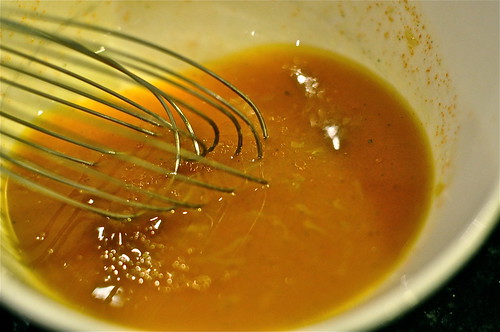
Combine lime juice, hot sauce, garlic salt and olive oil in a small bowl and whisk together. 
DSC_4830
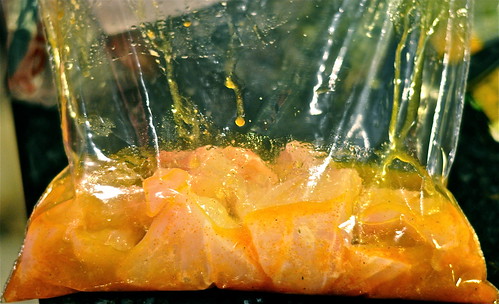
Put the fish in a gallon zip-top bag and add marinade. Slosh the fish and the marinade gently in the bag to ensure that all of the fish is coated. Seal the bag (removing excess air) and set aside to marinade for 30 minutes. 
DSC_4831
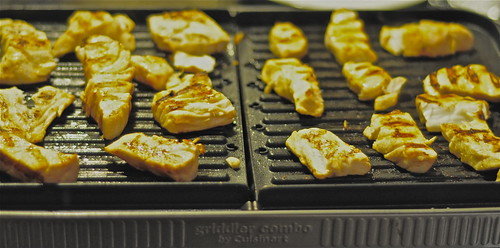
Start your grill and prepare for direct cooking over a hot fire (450-500 degrees). Remove the fish from the marinade and drain well. Pat each filet dry with a paper towel. Oil the grill and put the fish of the grill. Cook for three minutes on each side. 
DSC_4852
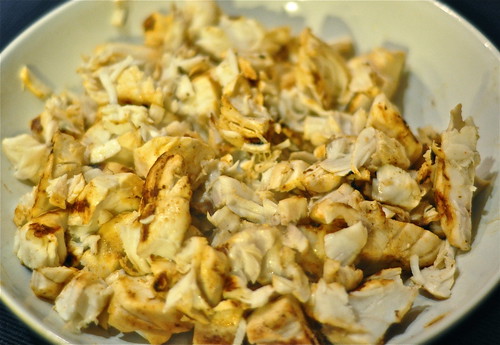
Move the fish to a serving bowl or platter and flake fish with a fork to make smaller chunks.
DSC_4854
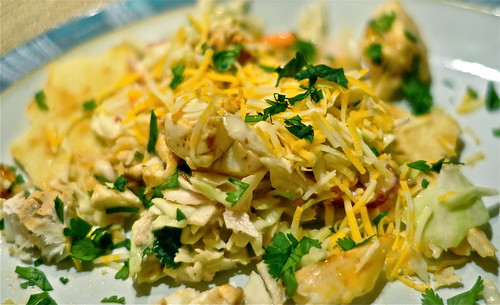
Drizzle with lime juice, and garnish with cilantro.  Serve family style with tortillas and slaw so each person can build their own taco!
DSC_4867

Thursday, March 17, 2011

Bacon, Egg, and Toast Cups

DSC_4632
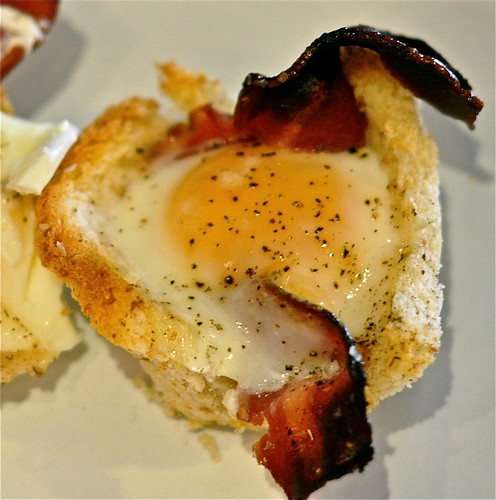
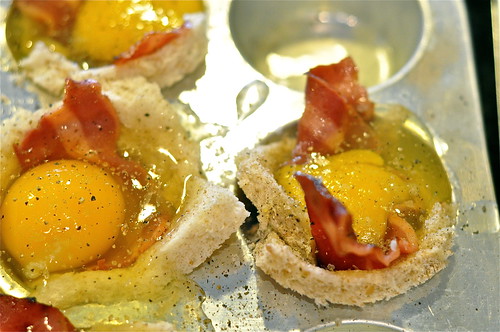
I made these Bacon, Egg, and Toast Cups last weekend while my Mom and Dad were visiting. They are so cute and easy to whip up (they do take about 45 minutes to make though, so make sure to start early). The bread toasts up nicely in the oven and the eggs end up cooked perfectly. 
DSC_4621
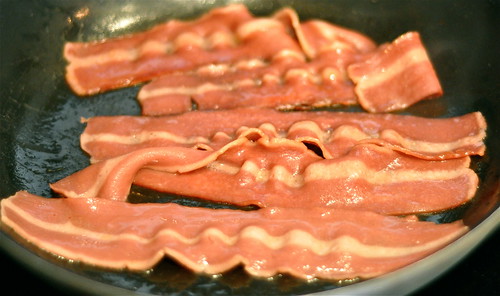
I used turkey bacon, but don't recommend it because some of the ends blackened. Everyone enjoyed this impressive, yummy breakfast. 
DSC_4620
Bacon, Egg, and Toast Cups
From Martha Stewart Recipes
Serves 4 (2 toast cups each)
Printable Version


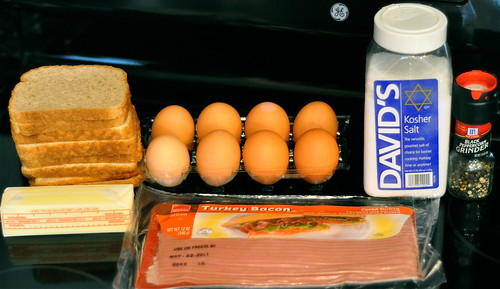
Ingredients
3tablespoons butter, melted
8 slices wheat or whole wheat sandwich bread
8 slices bacon
8 large eggs
Coarse salt and ground pepper


Directions
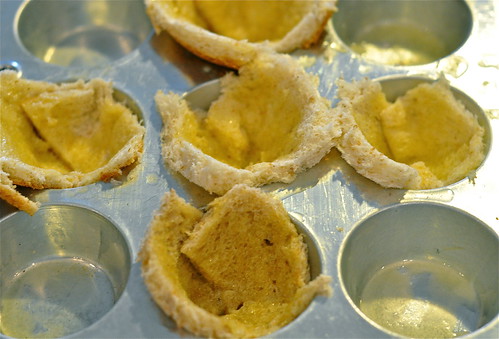
Preheat the oven to 375 degrees. Lightly butter eight standard muffin cups. With a rolling pin, flatten bread slices slightly and cut off the crusts. Cut each piece in half then press 2 halves into each muffin cup, overlapping slightly and making sure the bread comes up to the edge of the cup. Use extra bread to patch any gaps. Brush the bread with remaining butter. 
DSC_4622
In a large skillet, cook bacon over medium heat until almost crisp, flipping once (the bacon will continue to cook in the oven). Lay 1 bacon slice in each bread cup and crack an egg over each. Season with salt and pepper. 
DSC_4629
Bake until egg whites just set, 20 to 25 minutes. Run a small knife around cups to loosen toasts. Serve immediately. 


Notes: Leave empty spaced between if not filling up all muffin cups. Place the pan on a baking sheet to make it easier to get in and out of the oven. For a vegetarian version substitute sauteed spinach instead of bacon. Sprinkle cheese on top to dress it up. Lots of options with this one!
DSC_4635

Tuesday, March 15, 2011

Homemade Pie Crust

DSC_4762
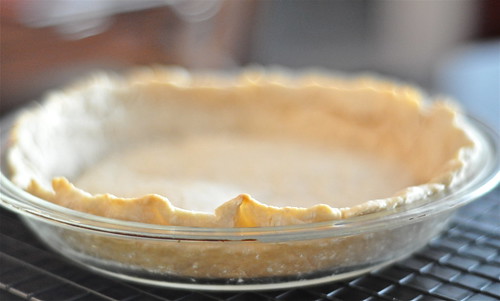
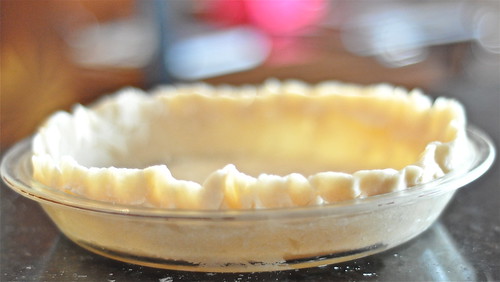
Here is pie crust recipe I made for my Blueberry Pie. It was pretty simple to do, especially because I followed the directions for making the dough with a food processor. The hardest part was moving the pastry from the floured counter to the pie plate. 
If I can make this, anyone can make this!


Pastry for Single-Crust Pie
From Better Homes & Gardens Cookbook
Printable Version
DSC_4744
Ingredients
1 1/4 cups all-purpose flour
1/4 teaspoon salt
1/3 cup shortening
3 tablespoons cold water


Directions
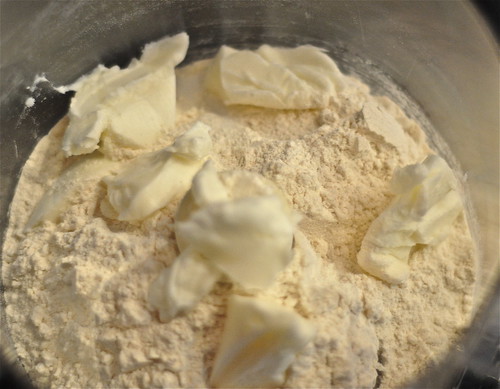
Place a steel blade in food processor bowl. Add flour, shortening, and salt. 
DSC_4746
Cover and process with on/off turns until most of the mixture resembles cornmeal but a few larger pieces remain. 
DSC_4747
With the food processor running, quickly add 3 tablespoons water through the feed tube. Stop the processor as soon as all the water is added and scrape down sides. Process with 2 on/off turns (mixture may not all be moistened). Remove dough from the bowl and shape into a ball. 
DSC_4749
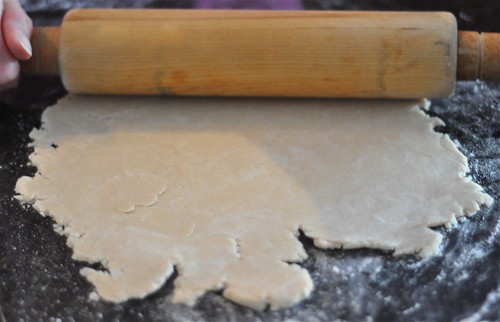
On a lightly floured surface, use your hands to slightly flatten dough. Roll dough from center to edges into a circle about 12 inches in diameter.
DSC_4752
To transfer pastry, wrap it around the rolling pin. Unroll pastry into a 9-inch pie plate. Ease pastry into pie plate without stretching it. Trim pastry to 1/2 inch beyond edge of pie plate. Fold under pastry. Crimp as desired. 
DSC_4760
Do not prick pastry. Cover with foil and bake in a 450 degree oven for 8 minutes. Remove foil and bake for 5 to 6 more minutes or until golden. Cool on a wire rack. 

Monday, March 14, 2011

30 Things to Make Before I Turn 30: Blueberry Pie


DSC_4892
Today is my thirtieth birthday. Yikes, that's hard to say. Although it was hard to see my twenties come to an end, a friend at work gave me the best words of wisdom I've heard on turning thirty. She told me, "All the things you worked so hard for in your twenties will happen in your thirties." For my husband and I this is so true. Lots of exciting things are going to be happening in the near future and I am really looking forward to seeing all that is in store for the next chapter in our lives!

DSC_4893
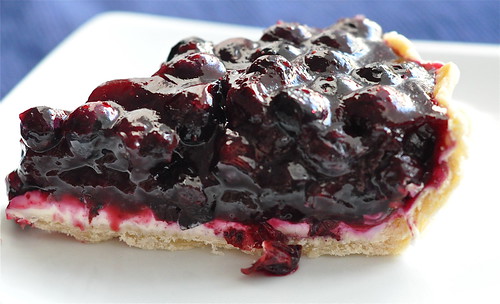
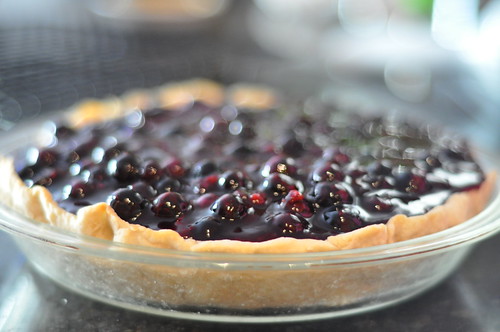
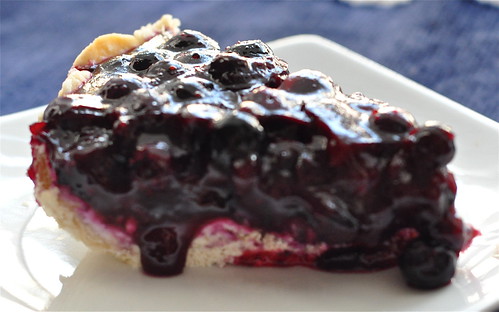
Now about that pie! It just so happens that my birthday is 3/14 which is also known to nerds and mathematicians as "Pi" Day (since Pi is 3.14). And coincidently, Blueberry Pie was the last item on my list of 30 Things to Make Before I Turn 30. (For those of you really keeping track of my list I haven't posted the yeast bread I made yet, but I have made it! It will be posted soon.) My Mom and Dad flew in this weekend to celebrate the big 3-0 and so I enlisted my Mom's help in making my very first pie crust from scratch and my Gram's delicious no bake blueberry pie.
DSC_4762
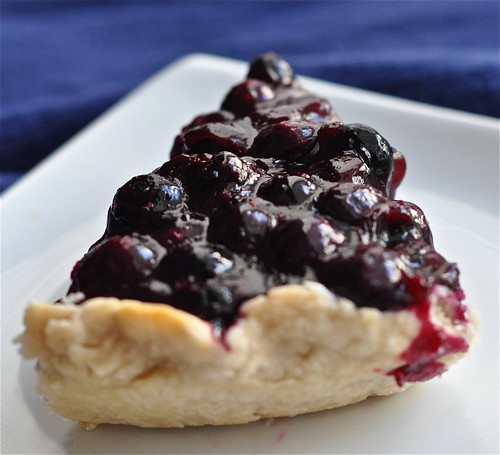
I was adamant that the crust had to be homemade because I felt like I was sorta cheating in not baking the blueberry pie. Mom and I were nervous the whole time because neither one of us are bakers. My Grandma Hutch was an amazing baker and her pie crusts were to die for! So with a little inspiration from Grandma H and the use of her glass pie plate that I inherited, we went to work creating Better Homes and Garden's Single Pie Pastry. (Recipe to come next.) It wasn't the most beautiful, smooth pie crust in the world but it turned out perfectly golden brown and more importantly tasted flaky and was awesome with the blueberry filling. I achieved pie perfection at the ripe age of 29 years and 364 days!
DSC_4785
No Bake Blueberry Pie
From Grandma W with a little modification by my Momma
DSC_4765
Ingredients
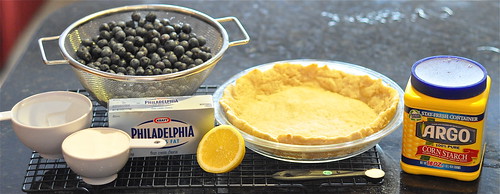
1 baked pie shell
4 cups fresh blueberries
1 cup white granulated sugar
1 cup water
3 tablespoons corn starch
1/2 teaspoon salt
2 teaspoons lemon juice
3 ounces cream cheese, softened
1 tablespoon sugar

Directions
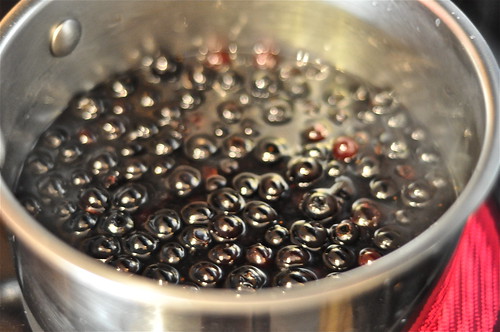
In a large pot heat 2 cups of berries with 1 cup water and 1/2 cup sugar over medium high heat. Cook for 5 minutes, stirring frequently.
DSC_4769
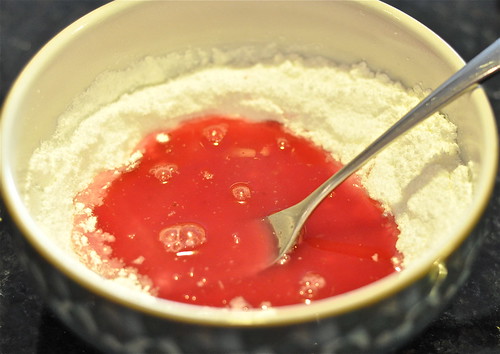
 In a small bowl mix 1/2 cup sugar with the cornstarch and salt. Take two large spoonfuls of liquid from the mixed berries and add to the cornstarch mixture. 
DSC_4772
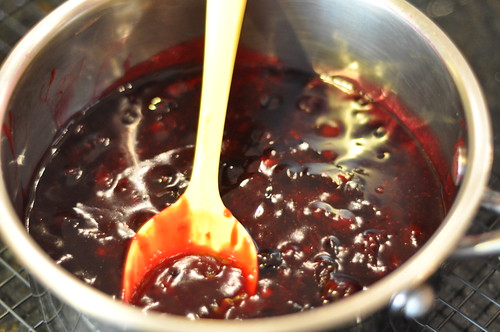
Stir to make a paste, then add in slowly to the pot of cooked berries. Slowly stir to thicken and add in lemon juice. Take the pot off the heat and cool slightly. 
DSC_4775
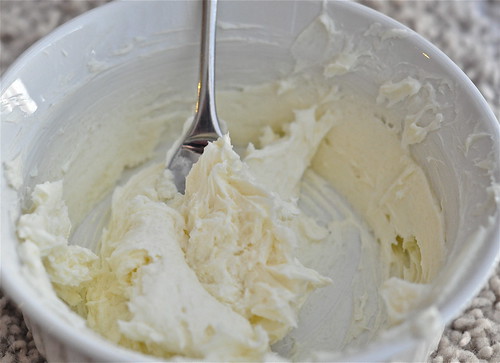
While berries are cooling whisk together softened cream cheese and 1 tablespoon of sugar. 
DSC_4767
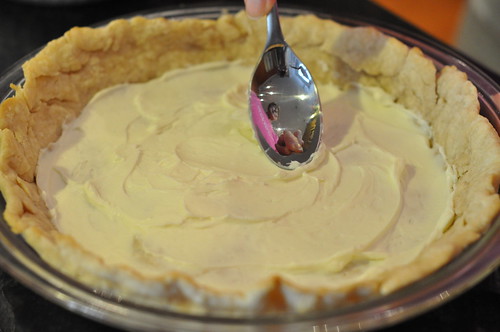
Spread with a spoon in the bottom of the pie crust. (This was my Mom's modification to add a little creaminess to the pie and ensure the crust doesn't become soggy.) 
DSC_4776
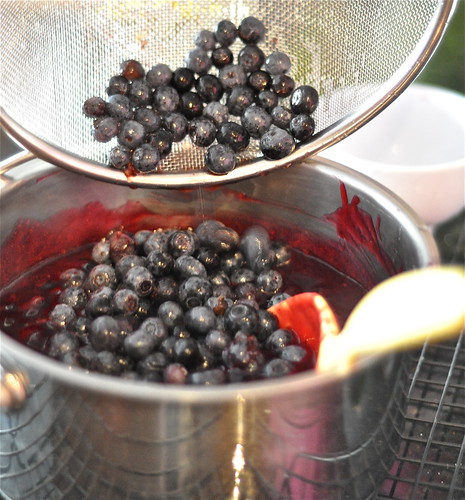
Fold in the remaining two cups of berries into the pot. 
DSC_4780
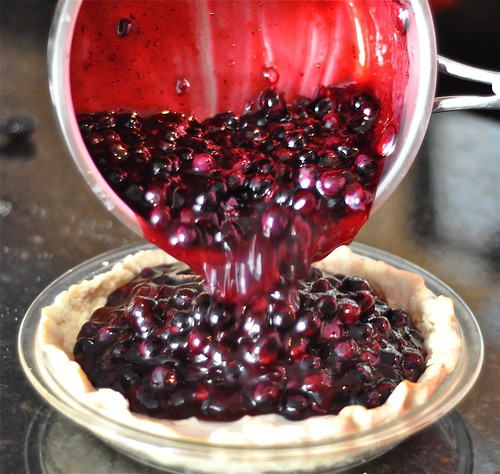
Pour into pie shell. 
DSC_4782
Refrigerate for at least one hour to allow pie to set. Serve with whipped cream, vanilla ice cream, or by itself! 
DSC_4890

Sunday, March 13, 2011

Mango Mimosa Martini

DSC_4701
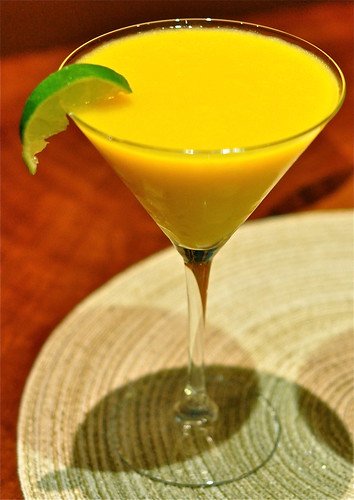
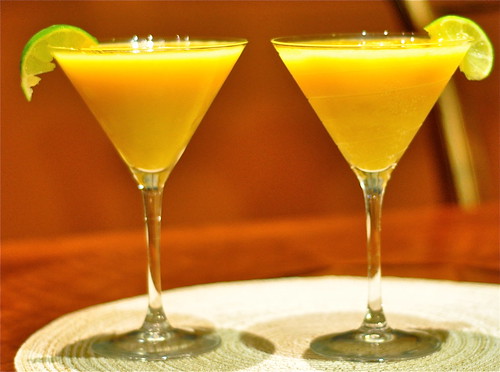
Hubby and I concocted this yummy half martini half mimosa cocktail this weekend while my parents were visiting. Frozen mango puree blended with vodka, seltzer, and topped with champagne result in a thick bubbly fruity drink that is sweet and tart. Perfect for toasting 30th birthdays!
DSC_4689
Mango Mimosa Martini
An Ashley's Cooking Adventures Original
Serves Two
Printable Version
DSC_4697
Ingredients
2 cups frozen mango puree (We used 2 packs from Trader Joe's Mango Puree)
2 shots vodka
1/2 can seltzer
Champagne to top off drinks
DSC_4699
Directions
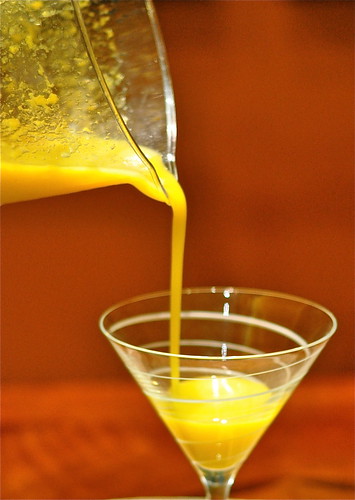
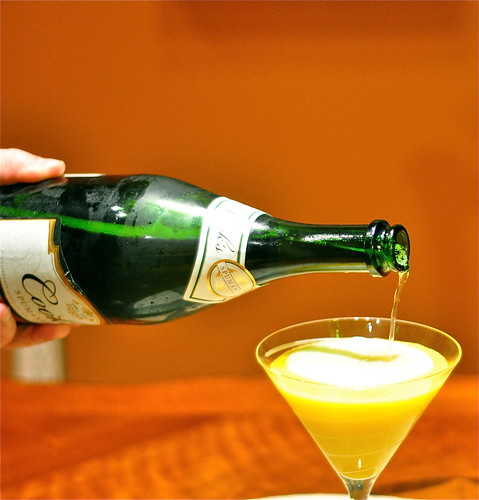
Place mango puree in a blender with vodka. Pulse to blend. Add in seltzer and pulse to liquify. Pour into cocktail glass and top with champagne.
DSC_4700

LinkWithin

Related Posts with Thumbnails